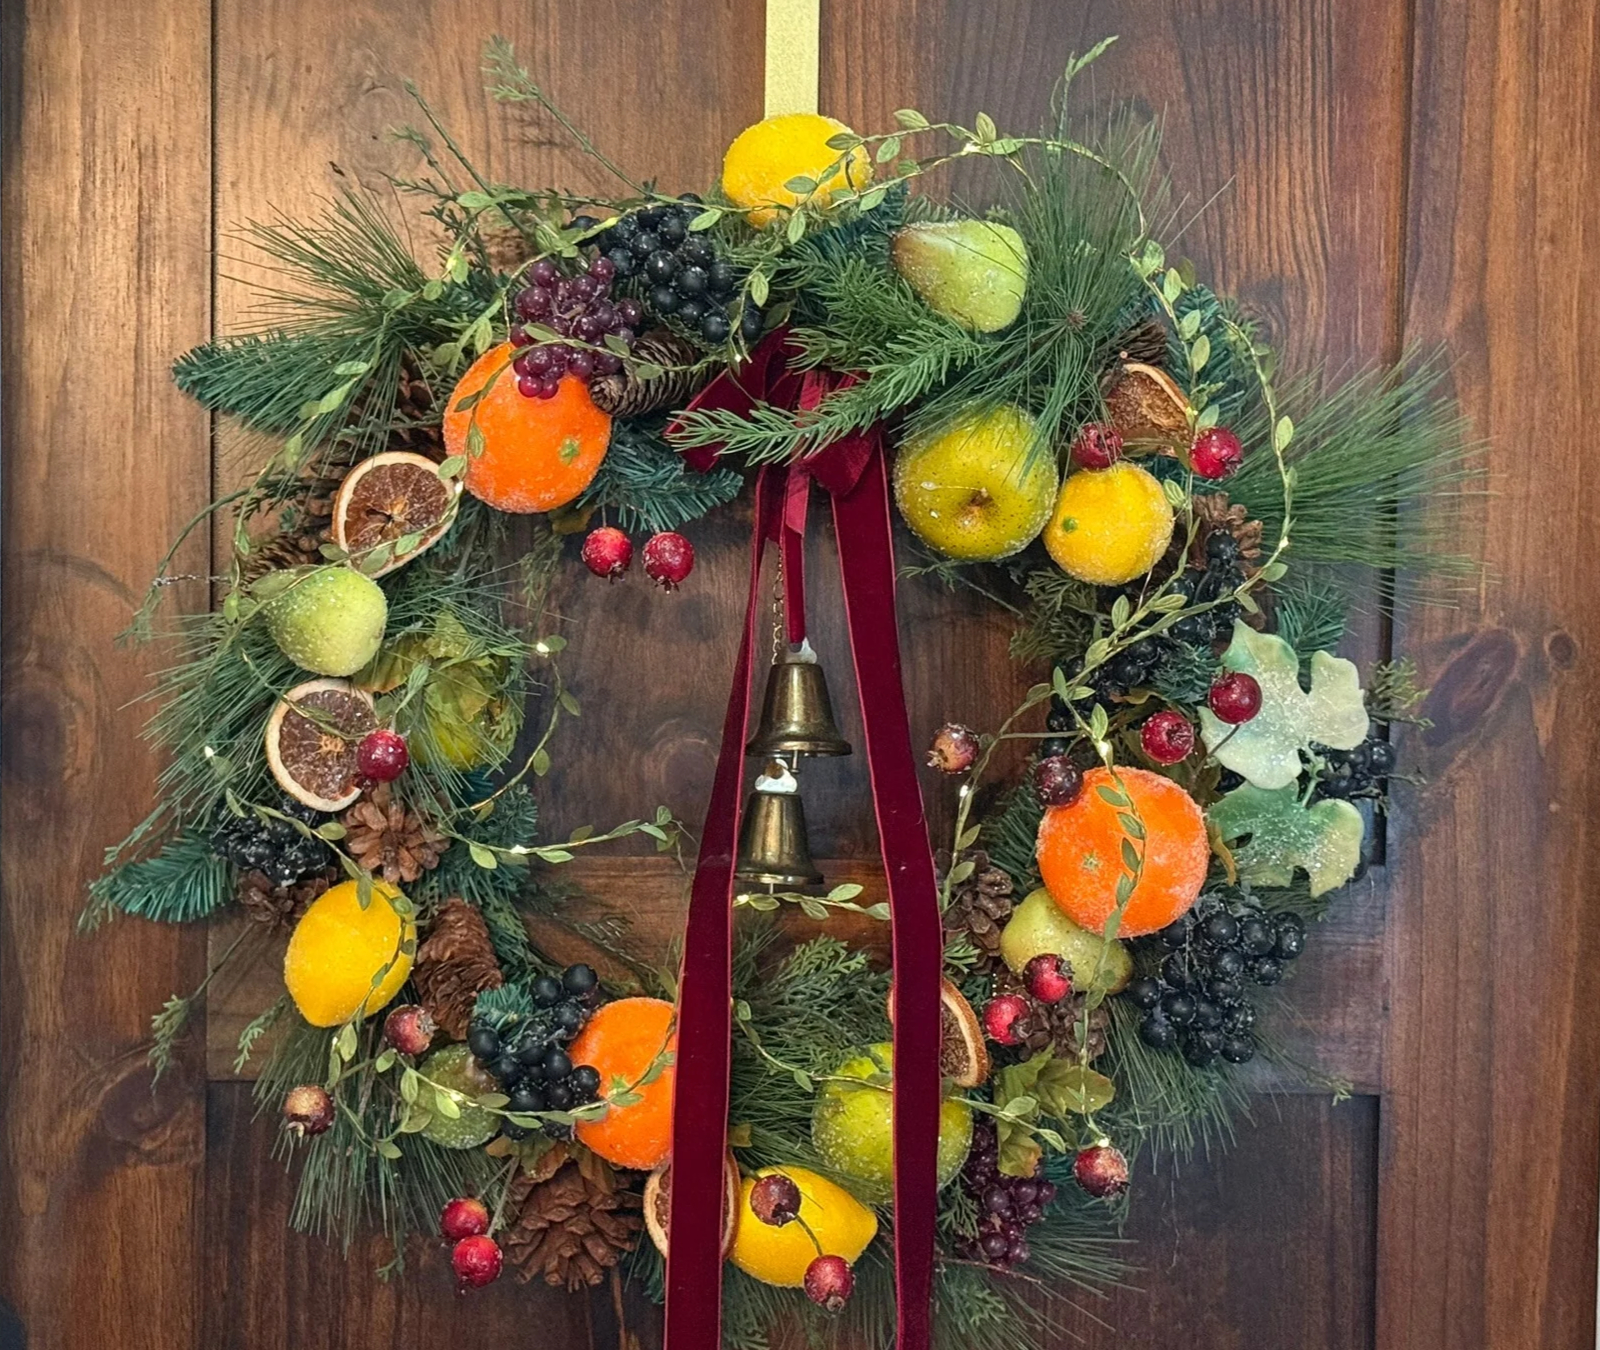
How to Make a Sugared Fruit Christmas Wreath | Old World Style

An Old World Christmas, Inspired by the English Countryside There is something about the timeless elegance of an English country estate that has always captured my imagination, the rolling hills, the big mansions, and the…
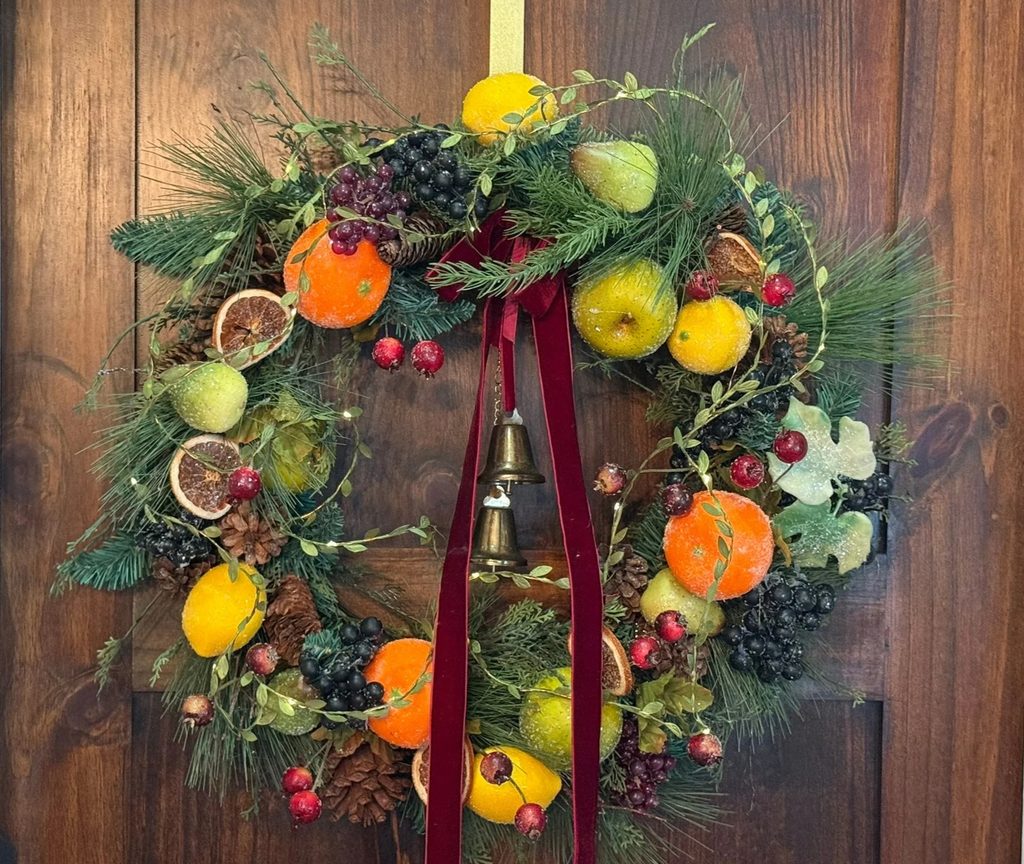
An Old World Christmas, Inspired by the English Countryside
There is something about the timeless elegance of an English country estate that has always captured my imagination, the rolling hills, the big mansions, and the decor inside those beautiful homes.
Rich velvet ribbons, traditional greenery, beautiful fruit arrangements, and treasured antiques seem to tell a story of
collected over time, and not that I just drove to the nearest store and grabbed all the Christmas decor off the shelves. It is a style that feels collected and timeless rather than new and “inexpensive”!
This is my third Christmas season making a sugared fruit DIY video. Each year I have tried something a little
different and learned how to speed up the process. Last year I dreamed of decorating our entire historic
home with sugared fruit, but I simply ran out of time!
This Christmas, I am finally bringing that vision to life: on our tree, across the mantel, and on the dining room tablescape,
and on my beloved French kitchen island. I thought a beautiful old-fashioned wreath would be the perfect place to
begin. So, let’s get busy, we have a lot of faux fruit to sugar…
Disclosure: The pink WORKPRO glue gun featured in this project was gifted to me by WORKPRO as part of a collaboration. This post contains affiliate links, which means I may earn a small commission from qualifying purchases at no additional cost to you. As an Amazon Associate I earn from qualifying purchases. All opinions are my own.
Come along with me as I share how I create sparkling sugared fruit and turn it into a beautiful, old-fashioned Christmas wreath.
Gathering the Fruit and Supplies
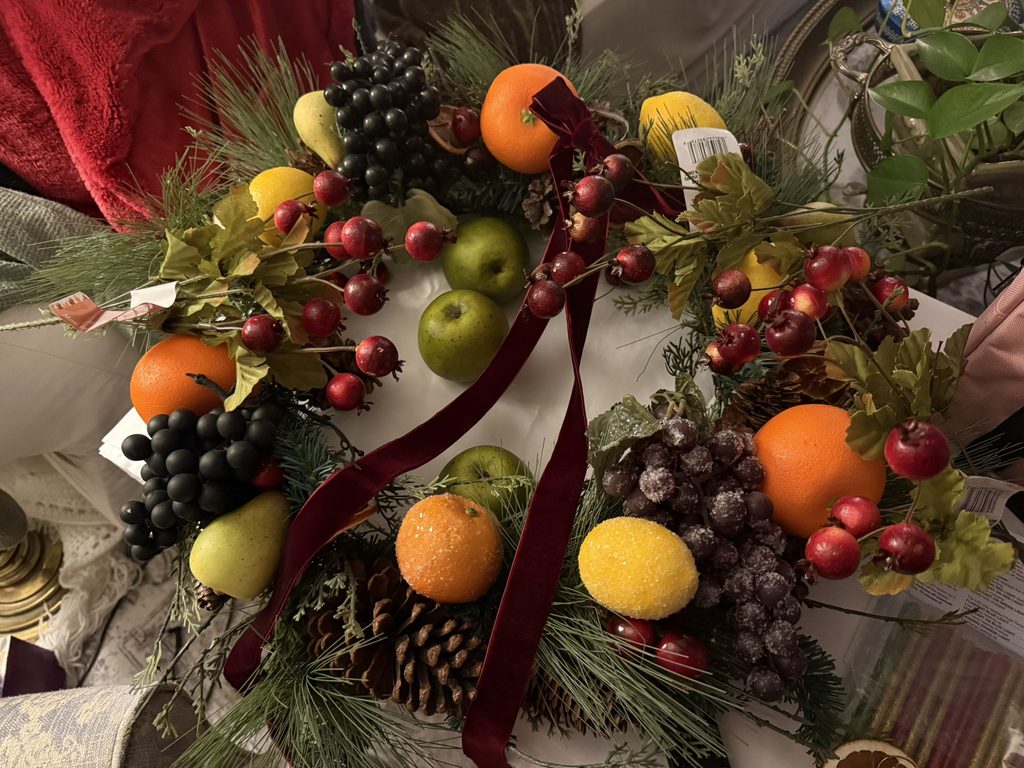
I started with faux oranges, lemons, pears, grapes, and berries, along with dried citrus slices, greenery, pinecones, lights, and a rich burgundy ribbon. I laid everything out beforehand so I could get an idea of how the colors and shapes worked together.
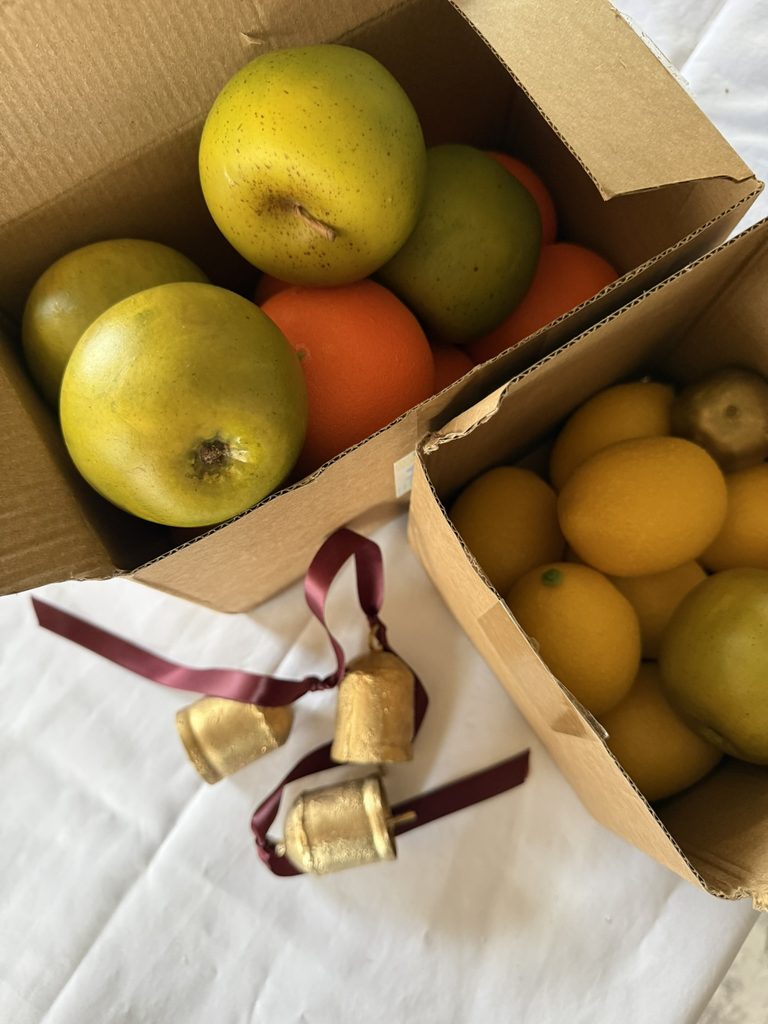
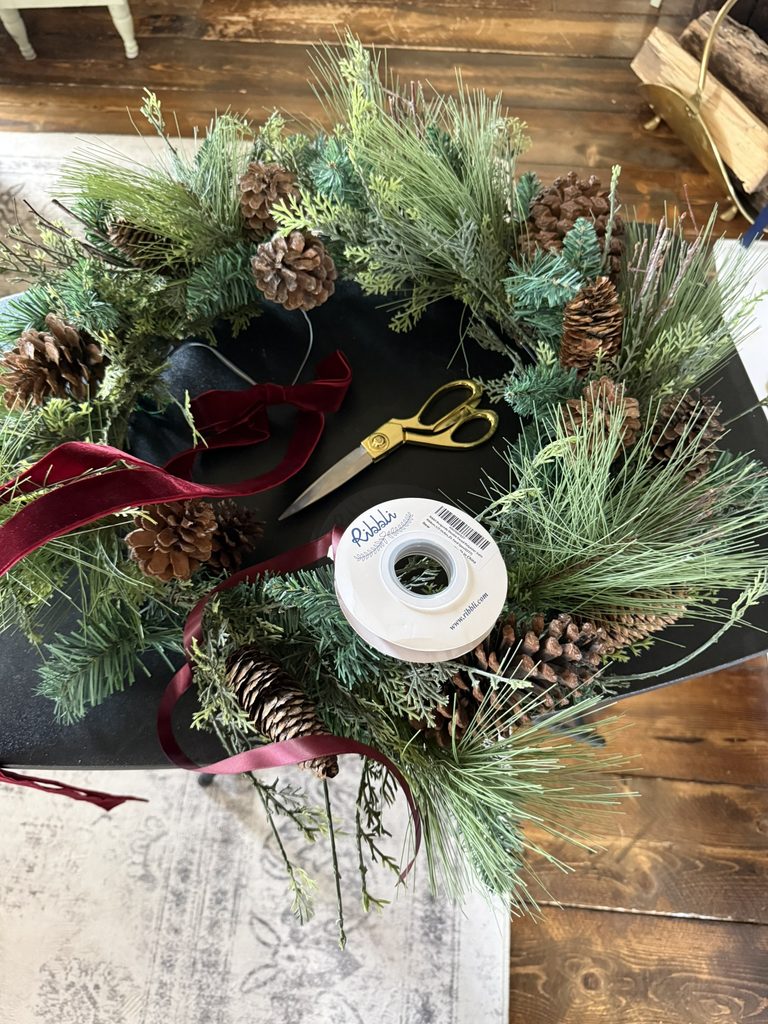
Supplies for Creating Sugared Fruit
To create that beautiful sugared finish, I used Diamond Dust glitter, Mod Podge spray adhesive, a small paintbrush, wooden skewers, and paper plates. I also used a little thrifted glass shaker to sprinkle the Diamond Dust evenly over the fruit.
A piece of green floral foam came in handy for holding the fruit upright on the skewers while it dried. But you certainly don’t need to purchase floral foam for this project! A sturdy cardboard box would work just as well.
You could use regular Mod Podge as well, but I’ve found that the spray works much faster, especially for grapes and berries. It goes a long way, surprisingly!
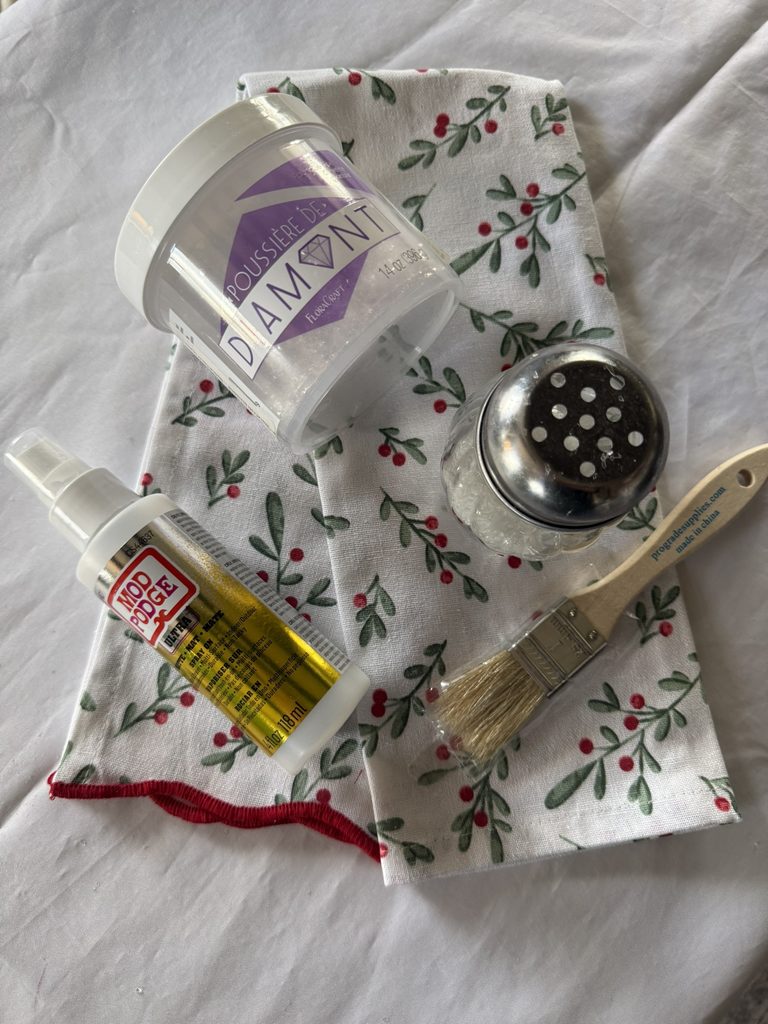
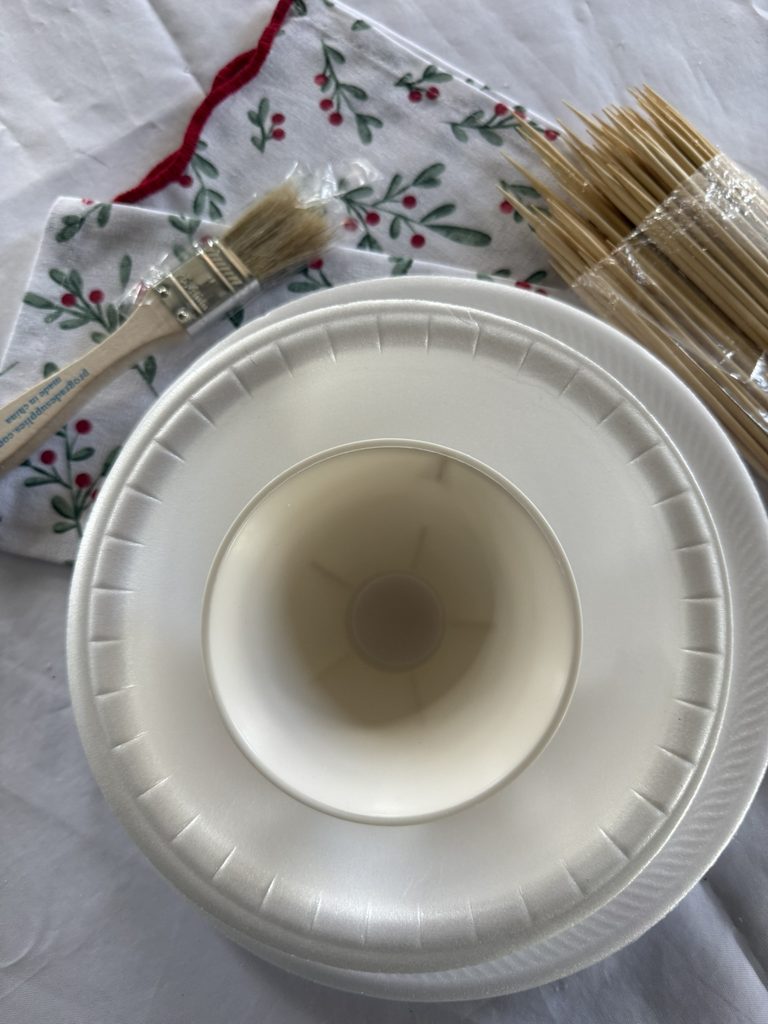
Before we begin creating our sparkling sugared fruit, let’s make sure we have a few simple supplies. Some you may already have tucked away in your craft room (or basement, in my case!), and others can easily be found at your local craft or thrift store. Here’s everything I used to create my Old World-inspired Christmas wreath.
Supplies You’ll Need
- Faux fruit – Oranges, lemons, pears, apples, grapes, and assorted berries.
- Evergreen wreath – With pinecones and additional greenery, if desired.
- Diamond Dust glitter – For that beautiful, sparkling sugared finish.
- Mod Podge spray adhesive – To help the Diamond Dust adhere to the fruit.
- Small paintbrush – For applying adhesive to smaller areas and details.
- Small glass shaker – My thrifted Parmesan shaker worked wonderfully for sprinkling the glitter evenly. A 1-inch funnel is optional and helpful for filling the shaker.
- Paper plates and a paper bowl – I like using paper because it’s flexible. You can gently bend the plate to pour any leftover Diamond Dust right back into your shaker without wasting it. Two paper plates would work just as well.
- Wooden skewers – To hold the fruit while applying the sugared finish.
- Green floral foam block (optional) – To hold the skewers upright while the fruit dries. You can also use a sturdy cardboard box.
- Hot glue gun and glue sticks – I used my WORKPRO hot glue gun to secure the fruit and greenery to the wreath.
- Silicone finger protectors (optional) – Helpful when working with hot glue.
- Vinyl tablecloth or old shower curtain – To protect your work surface and make cleanup easier.
- Burgundy ribbon and small decorative bells – For those final Christmas touches.
- Floral wire and scissors – For securing and arranging decorations.
- Battery-operated fairy lights (optional) – For a warm glow in the evening.
Creating the Sparkling Sugared Finish
The secret to this look is giving each piece a soft, frosted sparkle without losing its natural color. I worked on one piece of fruit at a time, applying the Mod Podge and sprinkling on the sugar-like finish. Throughout the photographs, I’ve used different fruits to demonstrate each step and make this tutorial a little easier to follow.
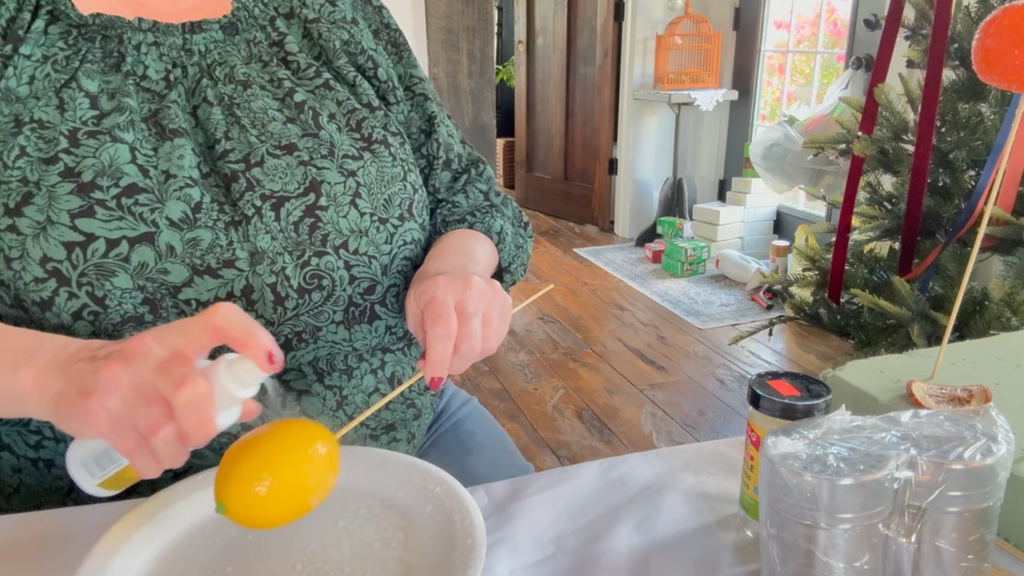
Before spraying the fruit, gently insert a wooden skewer into the bottom of each piece. This makes it much easier to hold and rotate the fruit while applying the adhesive and Diamond Dust, without getting your fingers sticky!
After lightly spraying the fruit with Mod Podge adhesive, I used a small paintbrush to gently spread the adhesive over the surface. While the adhesive was still tacky, I sprinkled on the Diamond Dust glitter, rotating the fruit to create a beautiful, even coating.
The goal was to give each piece a lovely, frosted appearance while allowing the natural colors of the fruit to shine through.
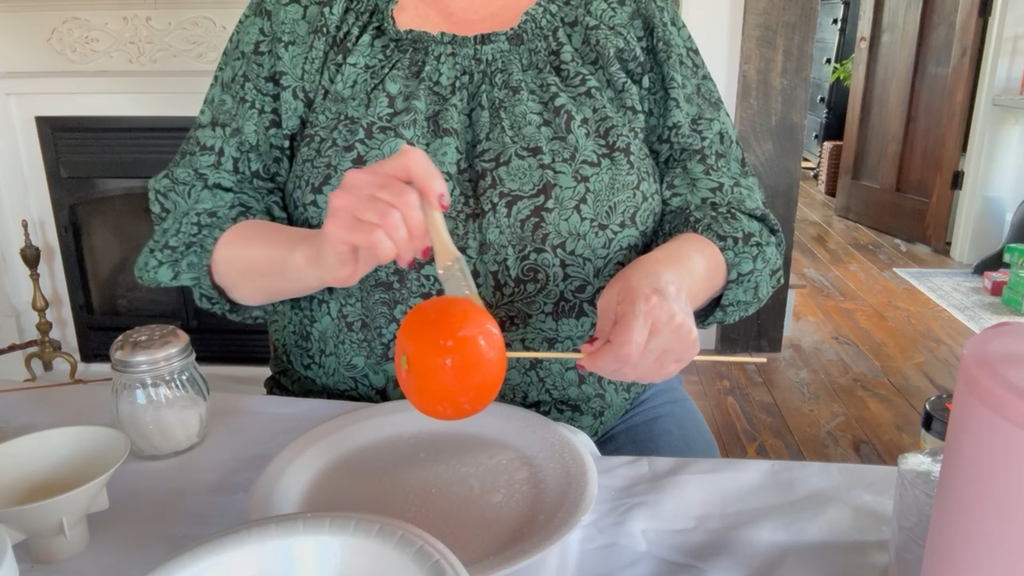
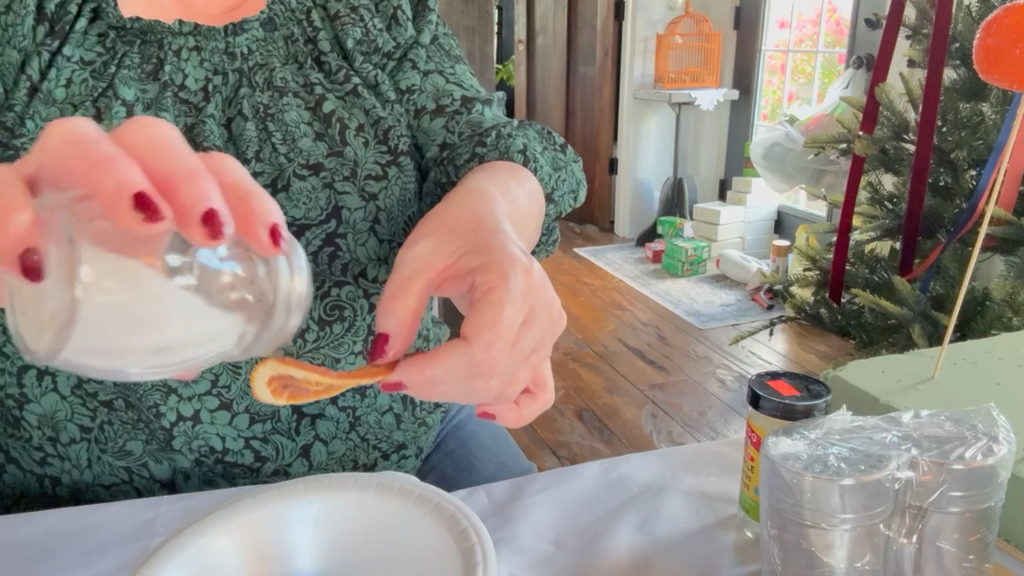
As I worked through the different fruits and berries, I loved seeing how the Diamond Dust transformed each one. Even the smallest berries took on that beautiful, frosted appearance, as though they had been dipped in sugar. I was careful not to cover their natural colors completely, allowing the rich reds, oranges, and greens to show through. Aren’t they pretty!
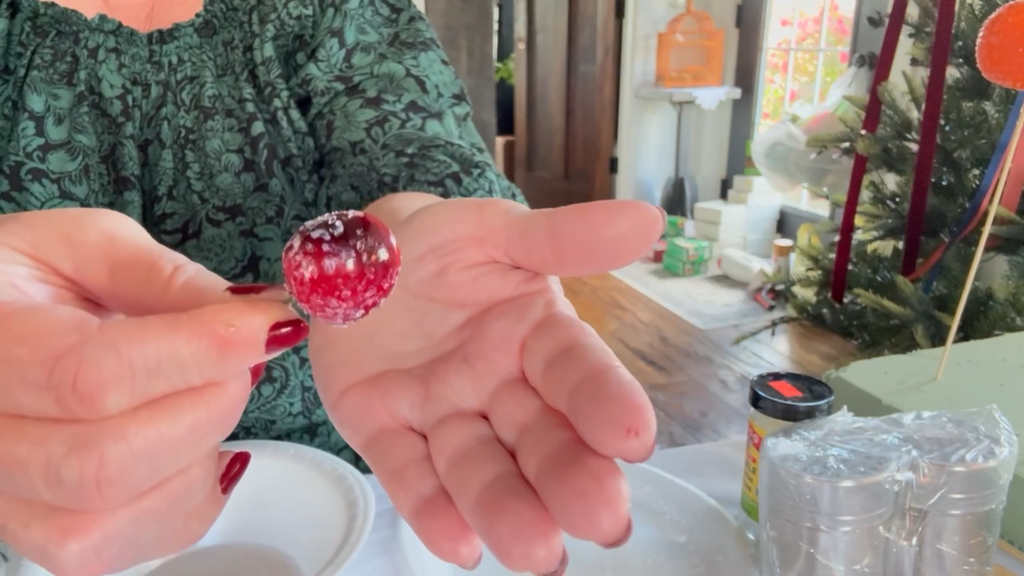
Letting the Sugared Fruit Dry
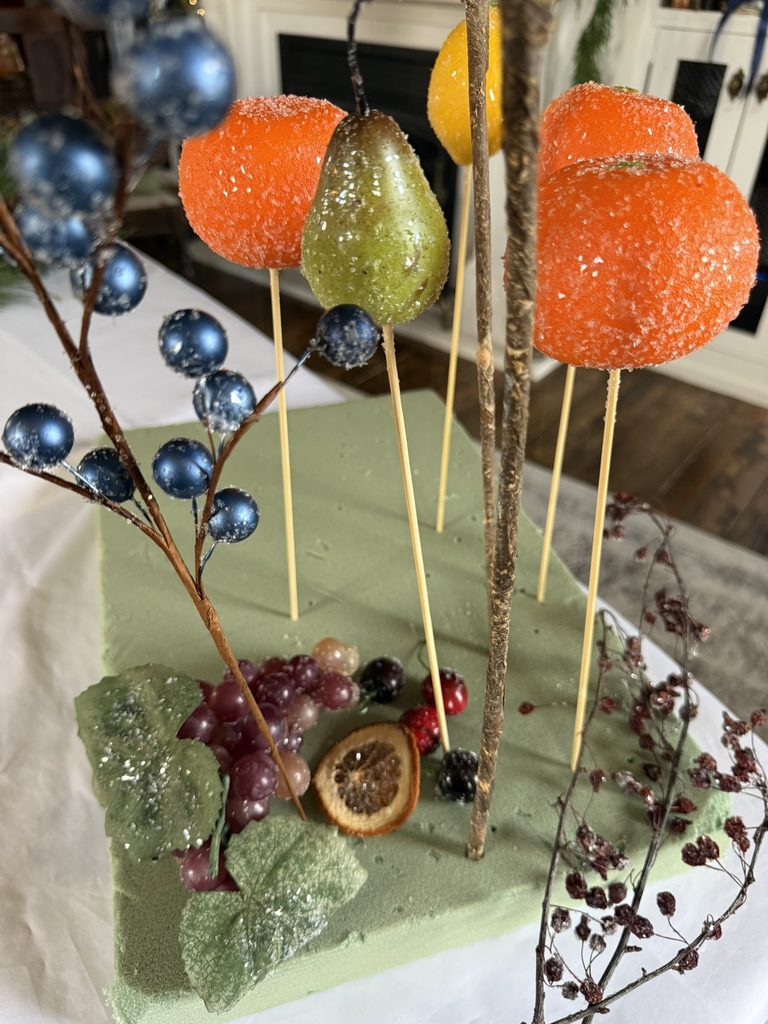
Once each piece of fruit had received its sparkling sugared coating, I placed the wooden skewer into a block of green floral foam to keep the fruit upright while it dried.
This simple little trick kept the freshly coated fruit from touching the table or each other, helping to preserve that beautiful sugared finish. If you don’t have floral foam, a sturdy cardboard box can also work as a drying stand. Just make sure the skewers are secure and there’s enough space between each piece of fruit.
A Thrifted Find Put to Good Use
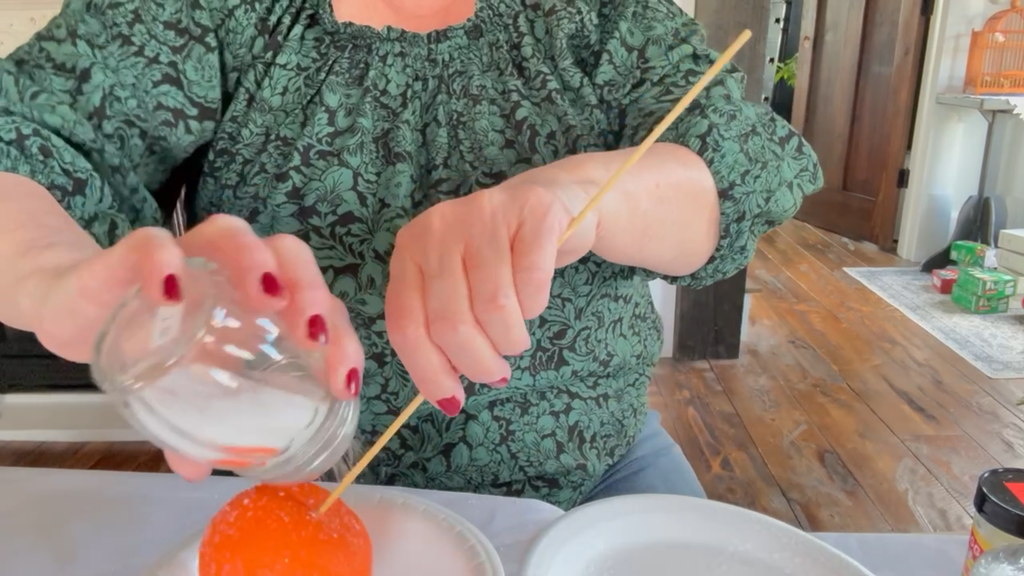
And because you know how much I love finding a new purpose for an old treasure, I even put a thrifted Parmesan cheese shaker to work sprinkling the sparkling finish. Sometimes the most unexpected thrift finds turn out to be the most useful! I recently thrifted this little treasure, and as soon as I saw it, I knew exactly what I was going to use it for!
After all, if you’re making a vintage-inspired sugared fruit wreath, you need a vintage shaker for your Diamond Dust!
Assembling the Wreath
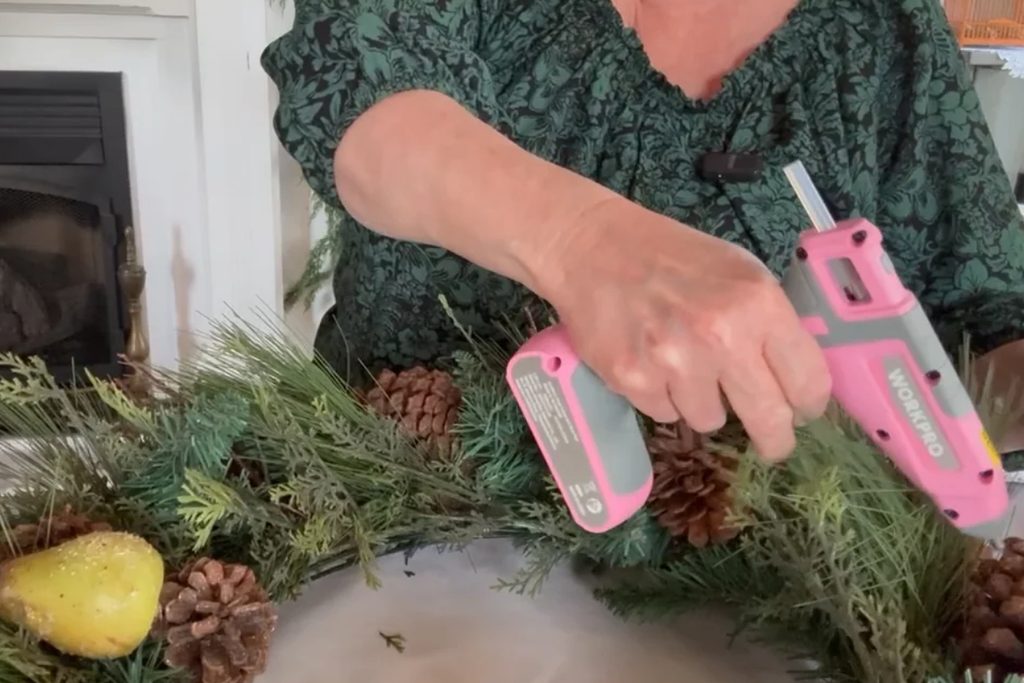
I let the fruit dry overnight, and then I began placing the larger pieces among the greenery, spreading out the oranges, lemons, and pears before filling in the spaces with grapes, berries, and dried citrus.
Make sure to step back every so often to get a sense of the whole project and see how it’s coming together.
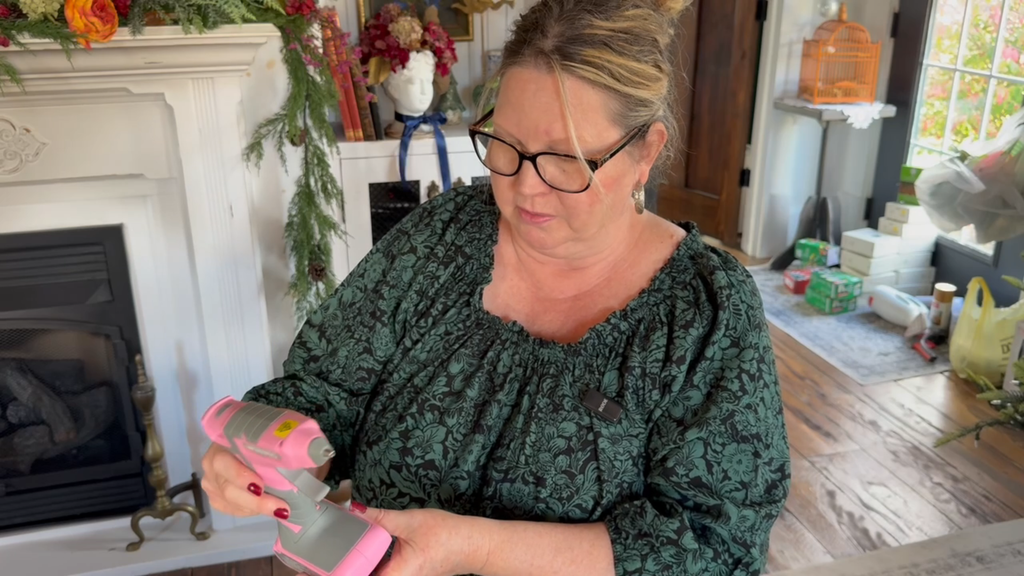
My pink WORKPRO glue gun helped secure the fruit and greenery, and I especially appreciated how easy it was to work around the pinecones and smaller branches.
One thing I really love is how lightweight it is! This project took a little while, yet my arm never felt tired. It heats up in just 30 seconds and has both low and high temperature settings, making it handy for different crafting projects. And when it needs recharging, I simply plug in the included charging cord.
I also love that WORKPRO partners with the National Breast Cancer Foundation to support people affected by breast cancer.
And did I mention that both the glue gun and its matching storage bag are PINK?
A Little Old World Christmas Magic
For me, the loveliest Christmas decorations are the ones that feel as though they could have been passed down for generations. This wreath is just the beginning of the Old World Christmas I’ve imagined for our historic home, and I cannot wait to share the other ways I use sugared fruit this season.
The Finishing Touches
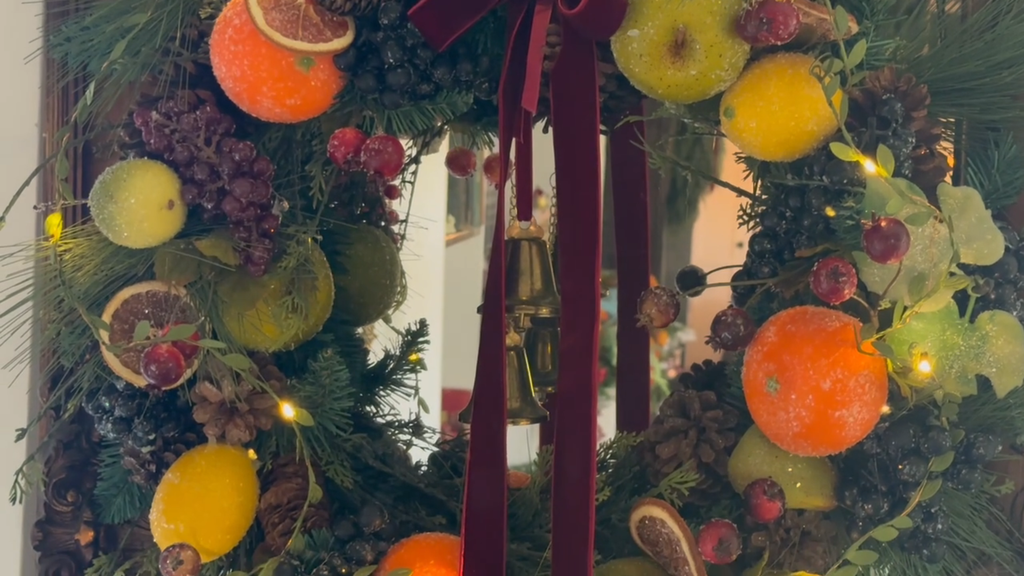
The burgundy ribbon brings that traditional, romantic feeling I love, while the pinecones and greenery bring the outdoors in. I added the little fairy lights last. In the evening, they make the sugared fruit sparkle in a magical way!
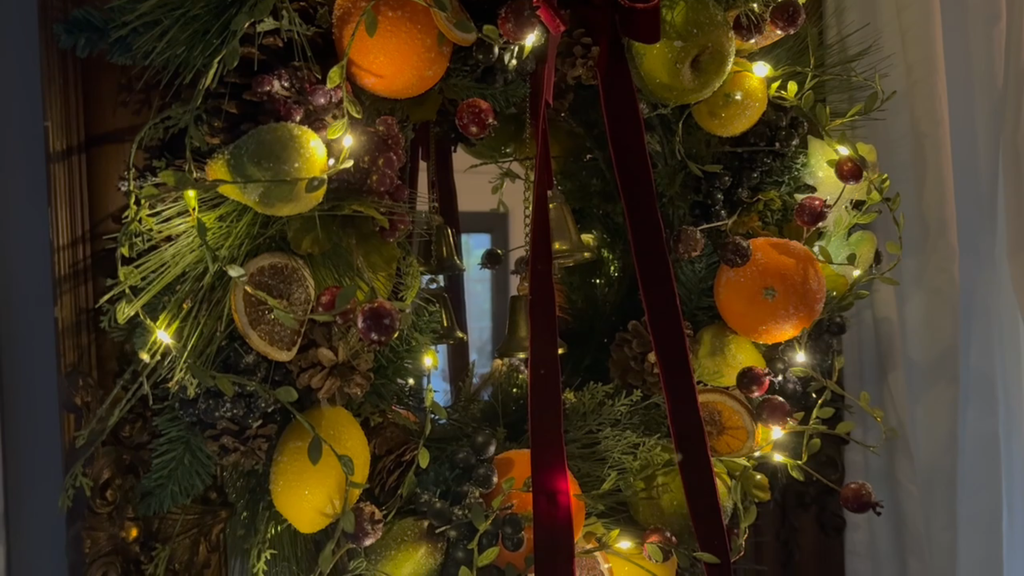
Would you decorate with sugared fruit? I would love to hear your ideas in the comments!
And if you haven’t already, be sure to watch my video near the beginning of this post to see each step as I create this beautiful Christmas wreath, along with the sparkling sugared fruit and berries I’m using throughout Our Timber Home this Christmas season!
Christmas at Our Timber Home
One of the things I love most about decorating our historic home is finding beauty in its imperfect corners. Our old chimney is still waiting to be rebricked, and believe it or not, we’ve had the bricks ready for three years now! But I rather love the character it brings to this little space. Don added the beautiful woodwork to bring back some of the historic charm that had been lost over the years. Against this backdrop, the sparkling sugared fruit, rich burgundy velvet ribbon, and simple greenery feel right at home.
It’s a gentle reminder that a home doesn’t have to be perfectly finished to feel beautiful, especially at Christmas.
Before I say goodbye, I wanted to share a few more lovely Christmas-inspired sugared fruit pictures.
A Closer Look at the Christmas Magic
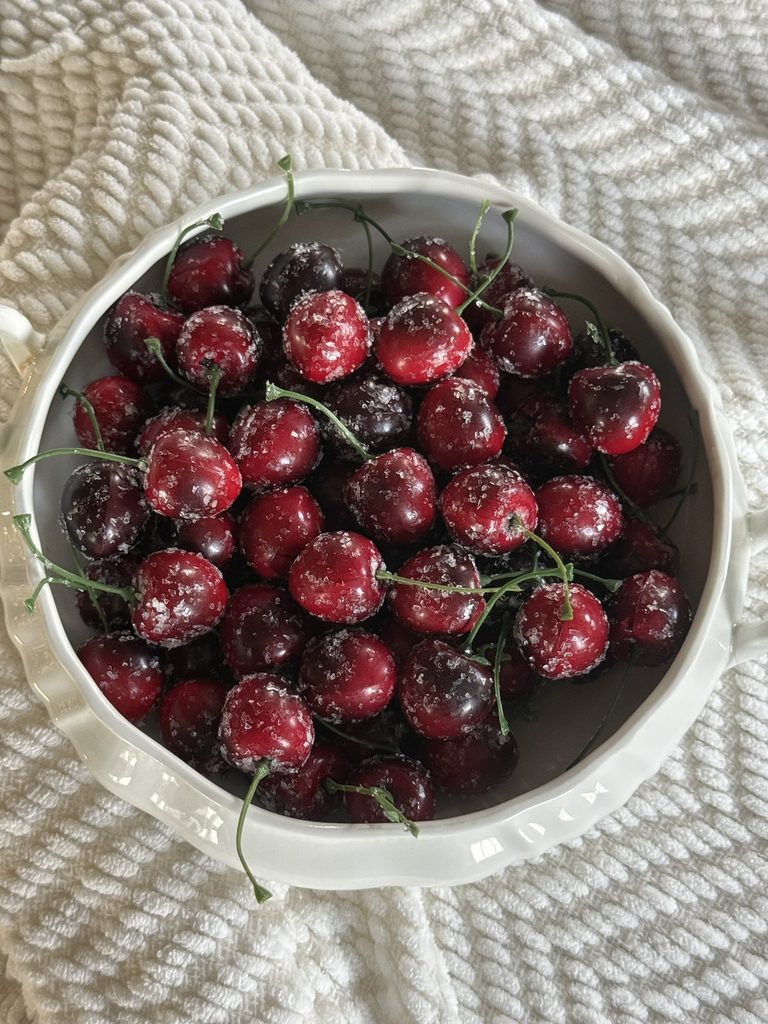
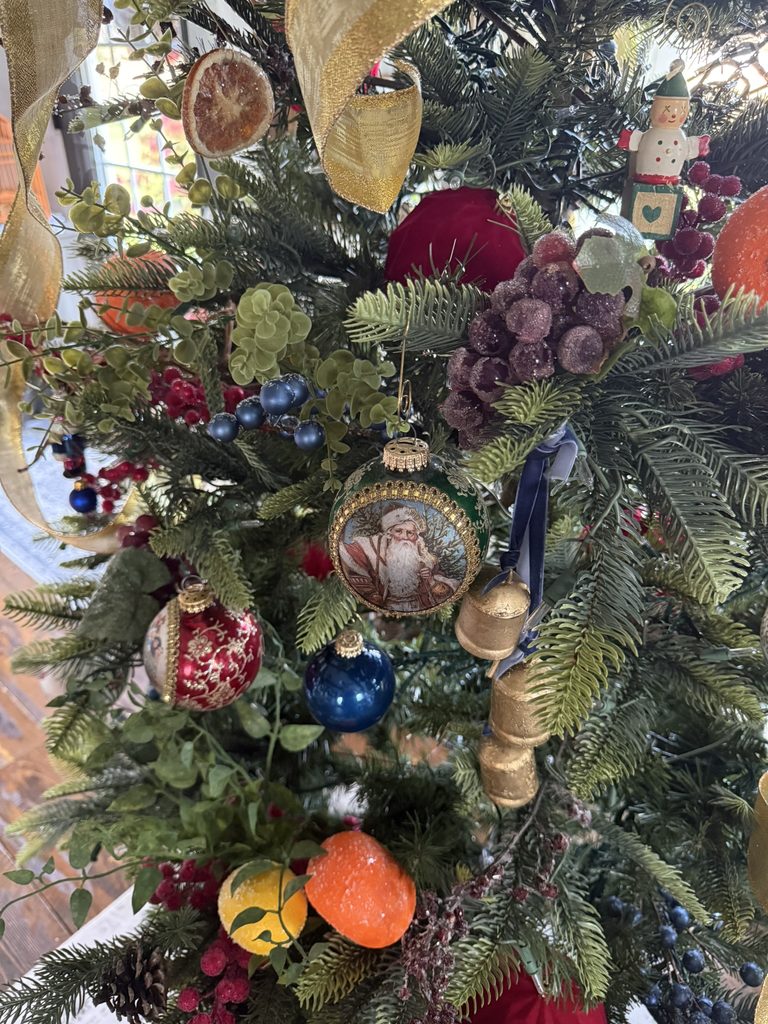
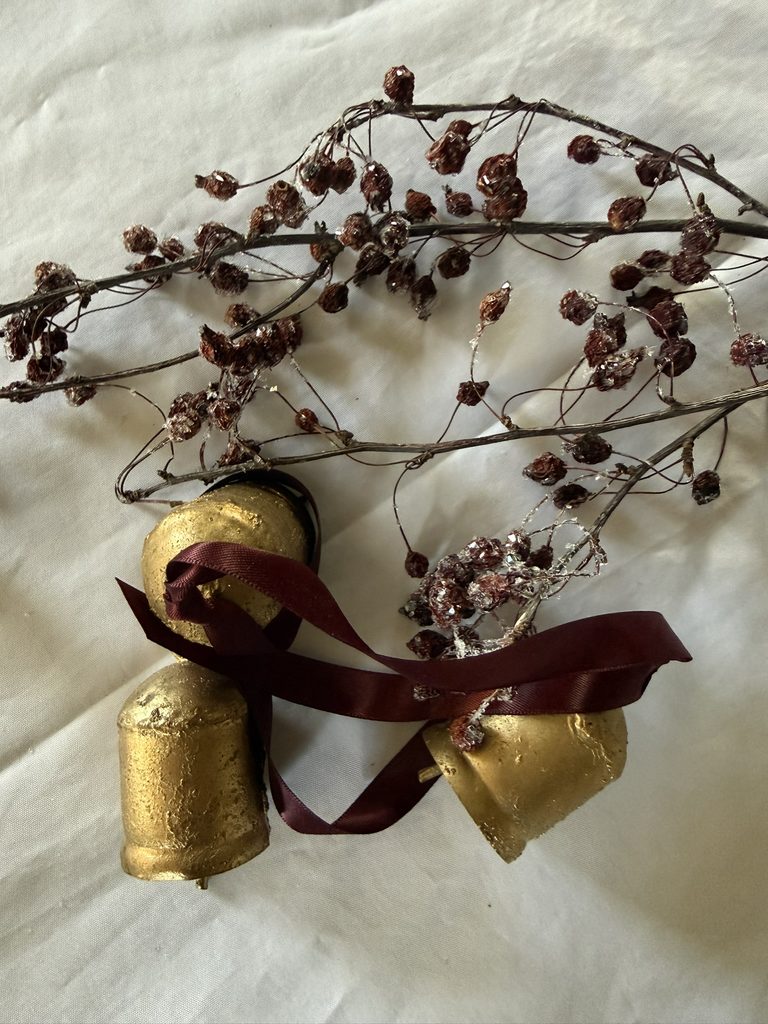
For the bowl of thrifted cherries, I came up with a clever little shortcut! Rather than sugaring each cherry individually, I placed about a cup of cherries at a time into a plastic bowl, sprayed them with Mod Podge, and gently stirred them to coat. Then I sprinkled on the Diamond Dust and stirred them again. I repeated the process until all the cherries were beautifully sugared.
Next, I spread them out on parchment paper inside a box, making sure they weren’t touching each other, and let them dry before arranging them in a lovely thrifted ironstone soup tureen.
I also added some of the faux sugared fruit to our Christmas tree!
And those little red berries on the right? They’re actually real! My daughter picked them from a tree in her front yard, and I sugared them last Christmas. Can you believe they’re still holding up beautifully a year later?
Thank you for spending a little time with me here at Our Timber Home. I hope this simple Christmas project inspires you to bring a touch of Old World charm into your own home this season.
A touch of Old World Christmas magic, created with simple things, a little imagination, and just a sprinkle of Diamond Dust!
Thank you for spending a little time with me here at Our Timber Home. I hope this simple Christmas project inspires you to bring a touch of Old World charm into your own home this season.
Until next time, happy decorating!
With love,

Our Timber Home